Artwork comes into this world via a creative process that is very personal to every artist. The content below reflects my processes from my sculptural work where I learned the synergy inherent in the materials and techniques used in my current work on canvas. I believe mastery is achieved only by continuing to remove – materials, forms, styles – until you arrive at the essence of your unique brand and aesthetic.
Inspire
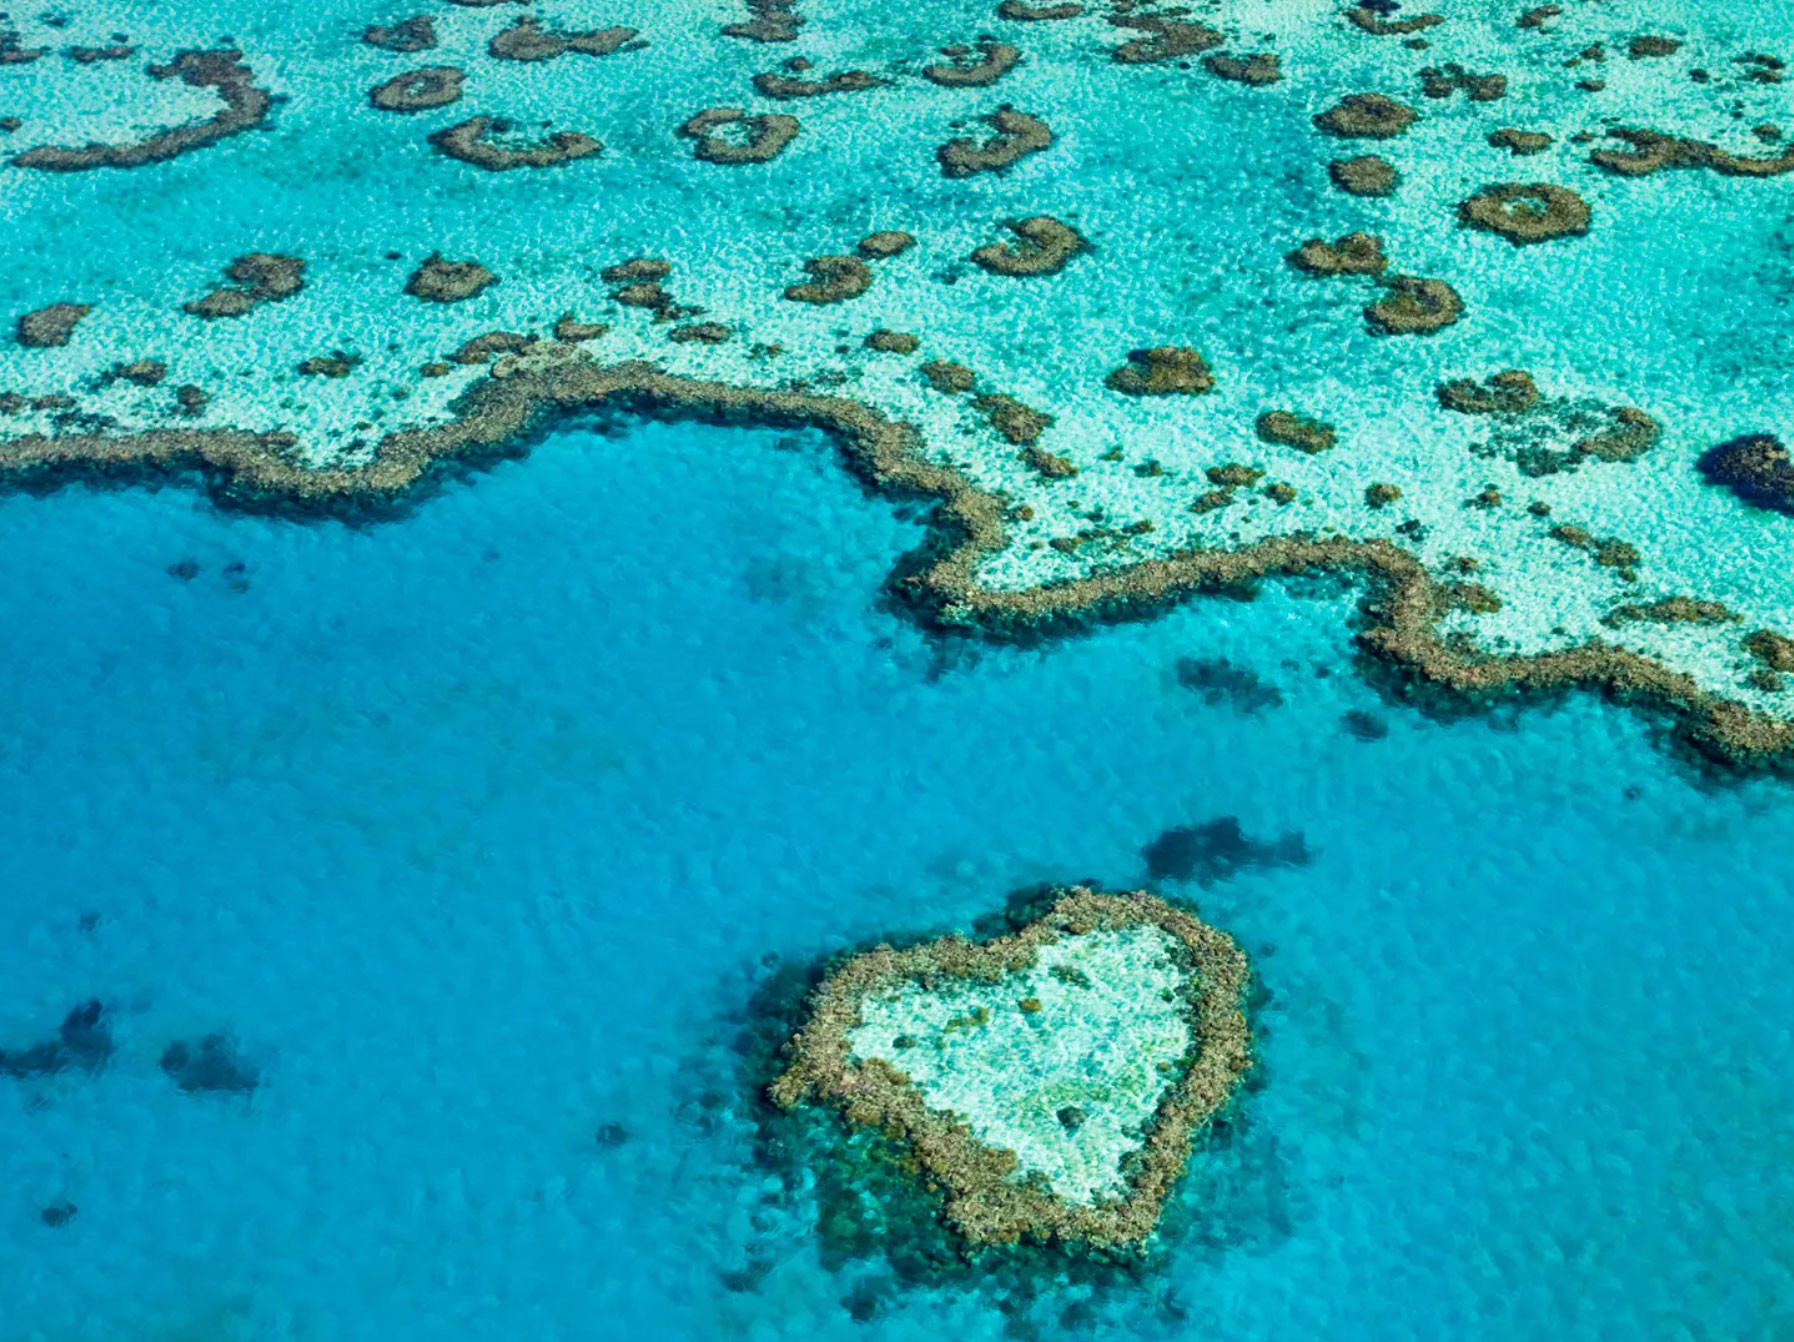
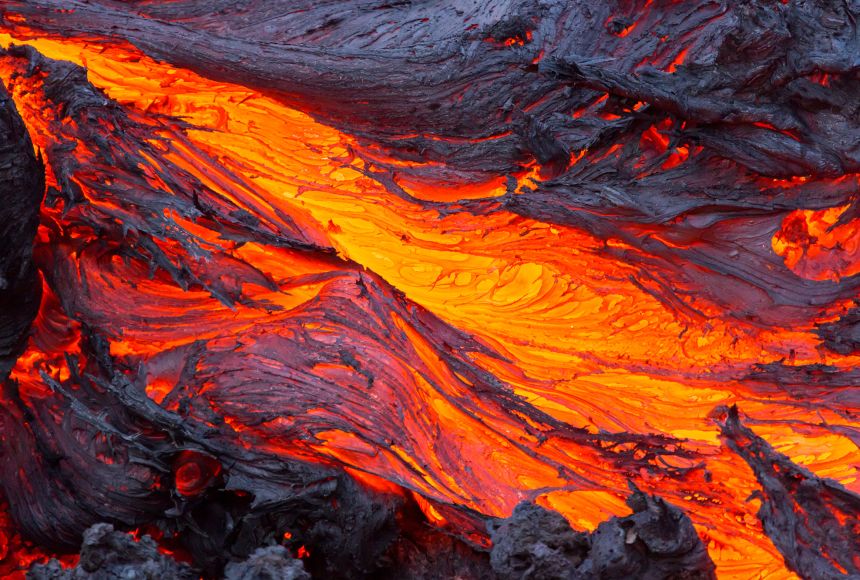
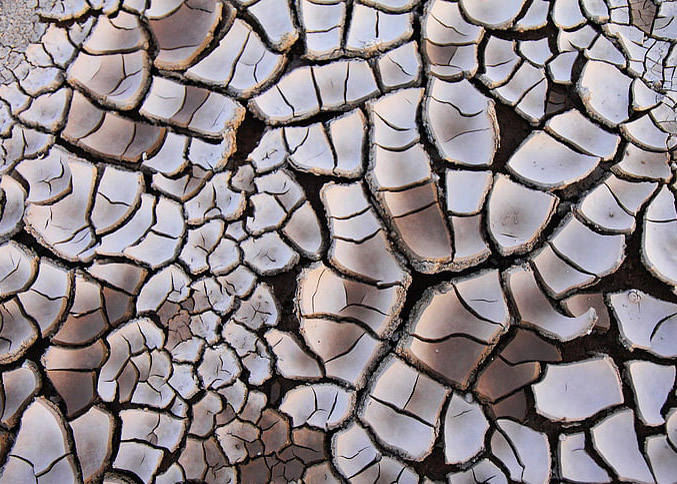
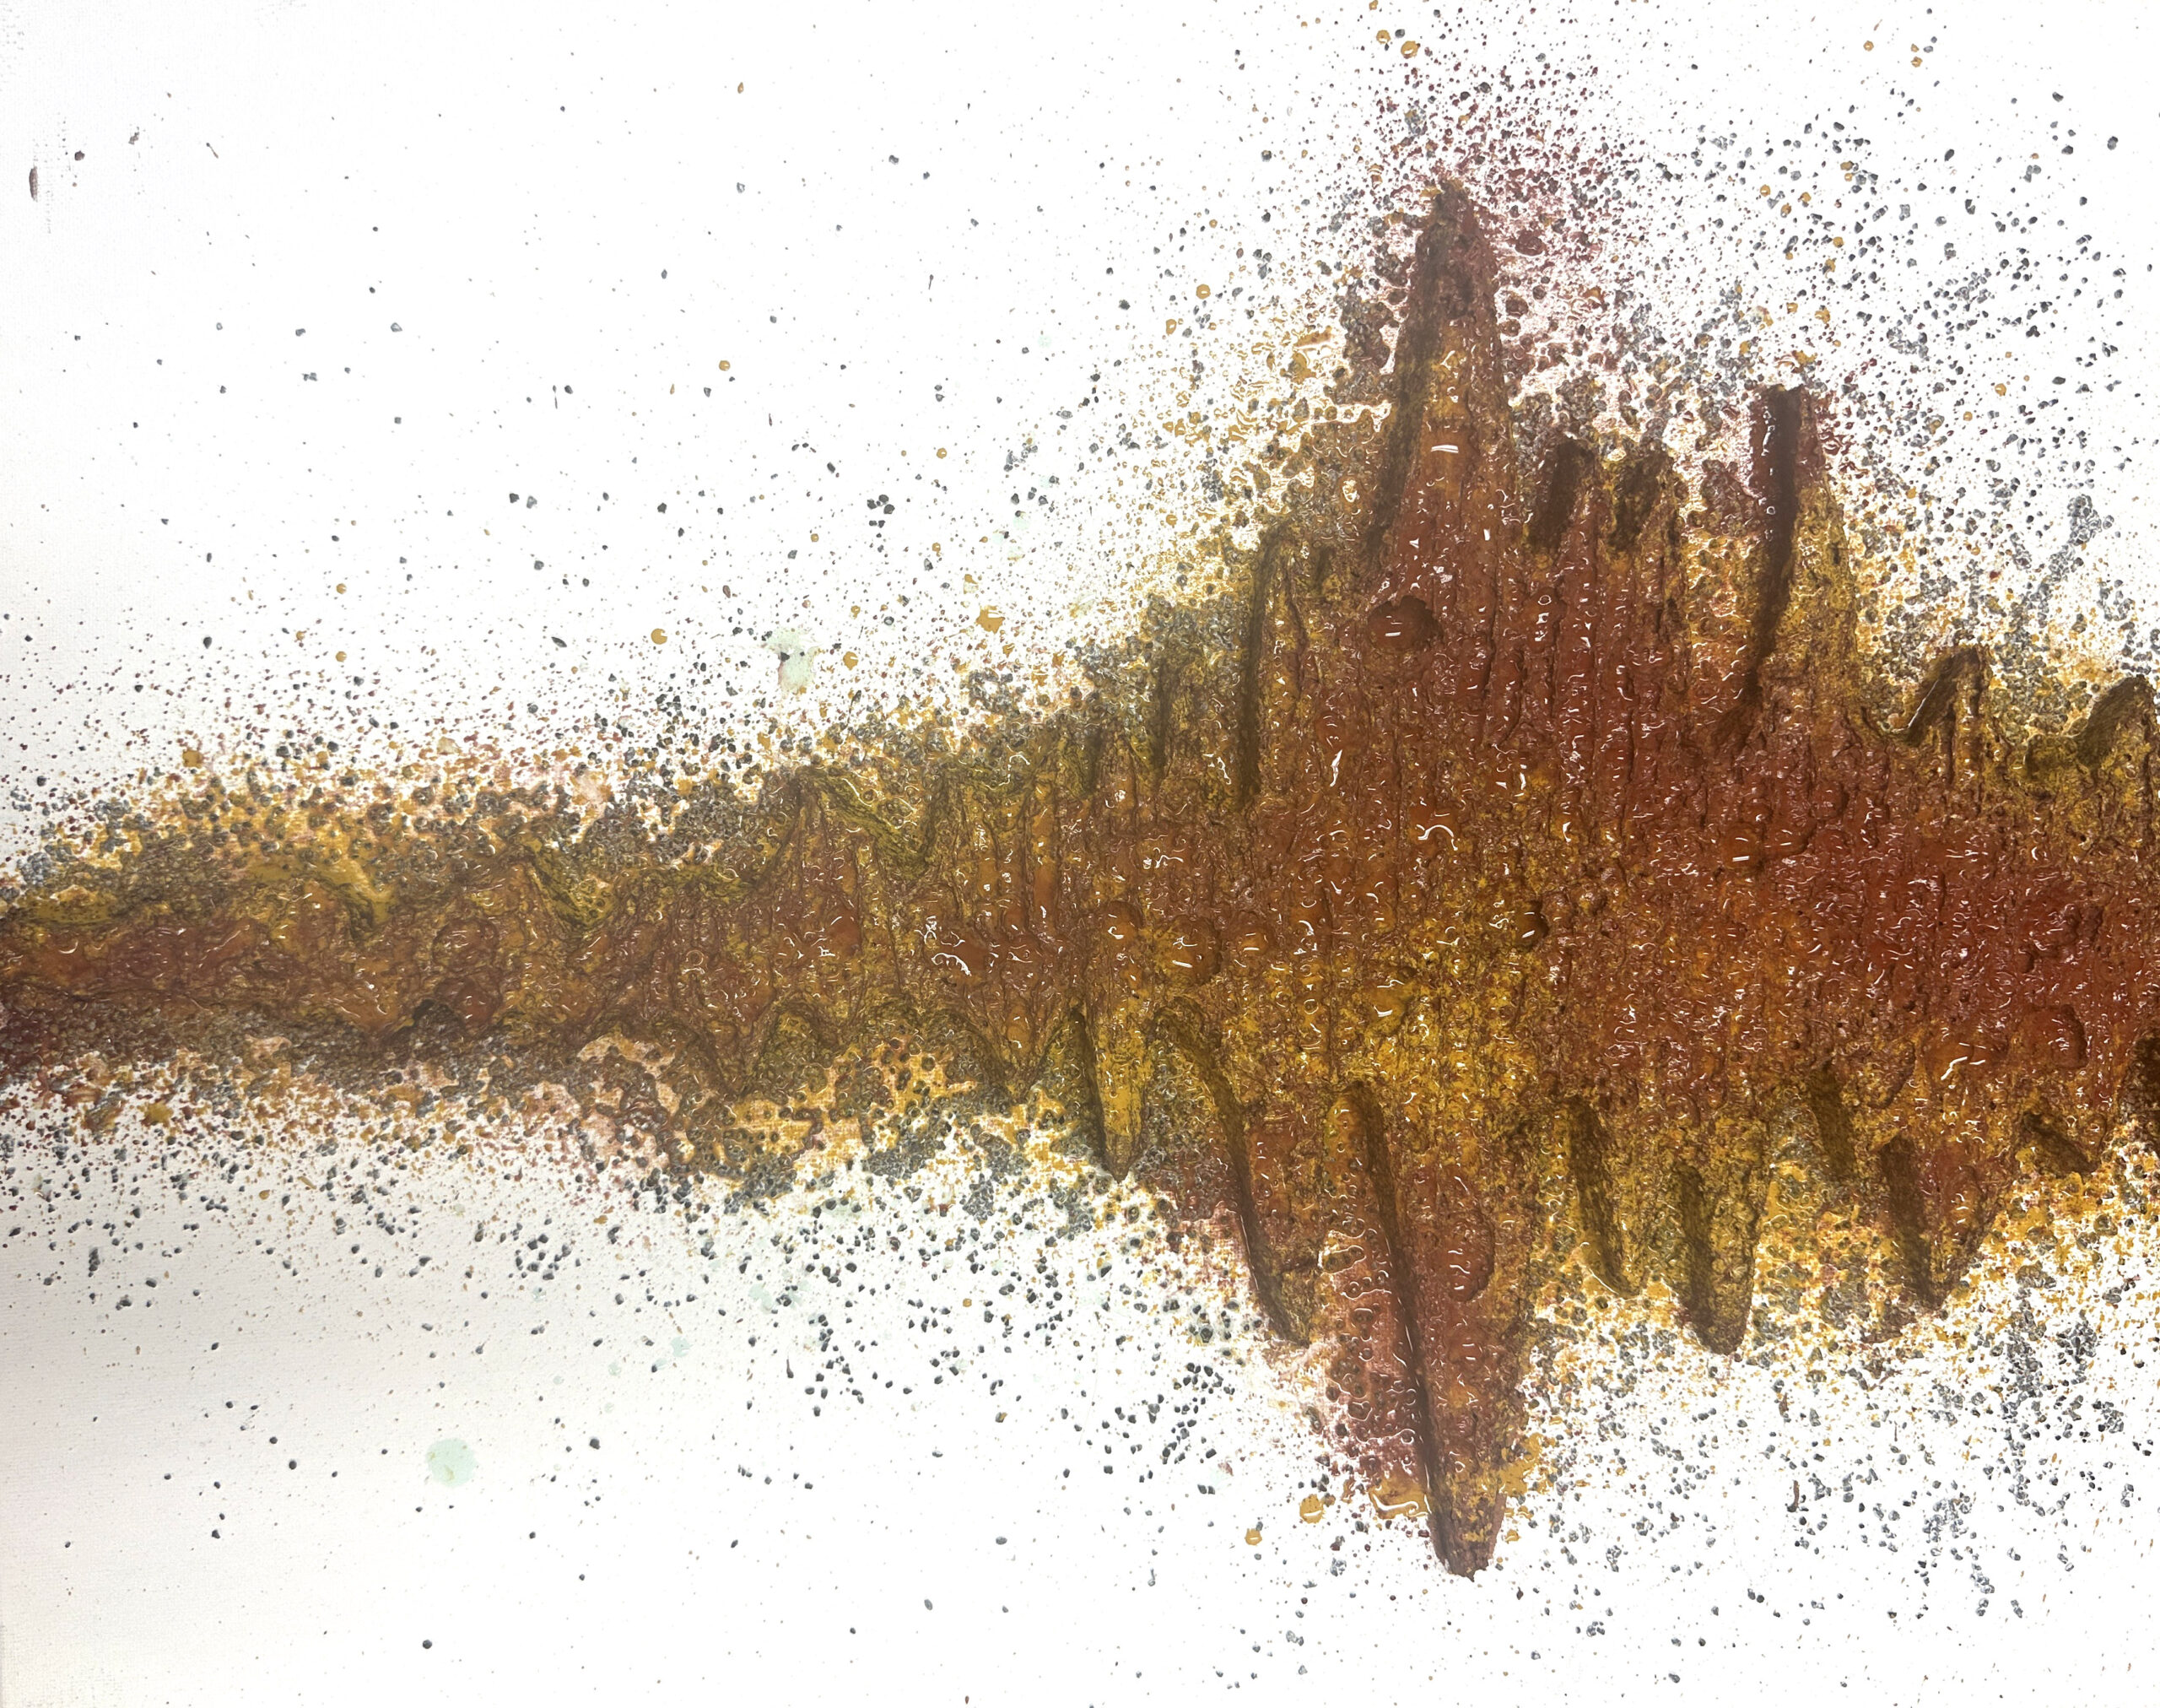
I consider inspiration to be, literally, a force of nature. It comes to me from other art, sometimes from nowhere, but primarily nature. Our world is full of textures, shapes, colors, patterns, silhouettes and contrasts. I take pictures or scribble ideas in my sketchbook .. some way to document what I’ve seen. The concept forms over time. Maybe I need to do some testing to solve a material challenge. Sooner or later – sometimes many months later – it comes into being.
Construct
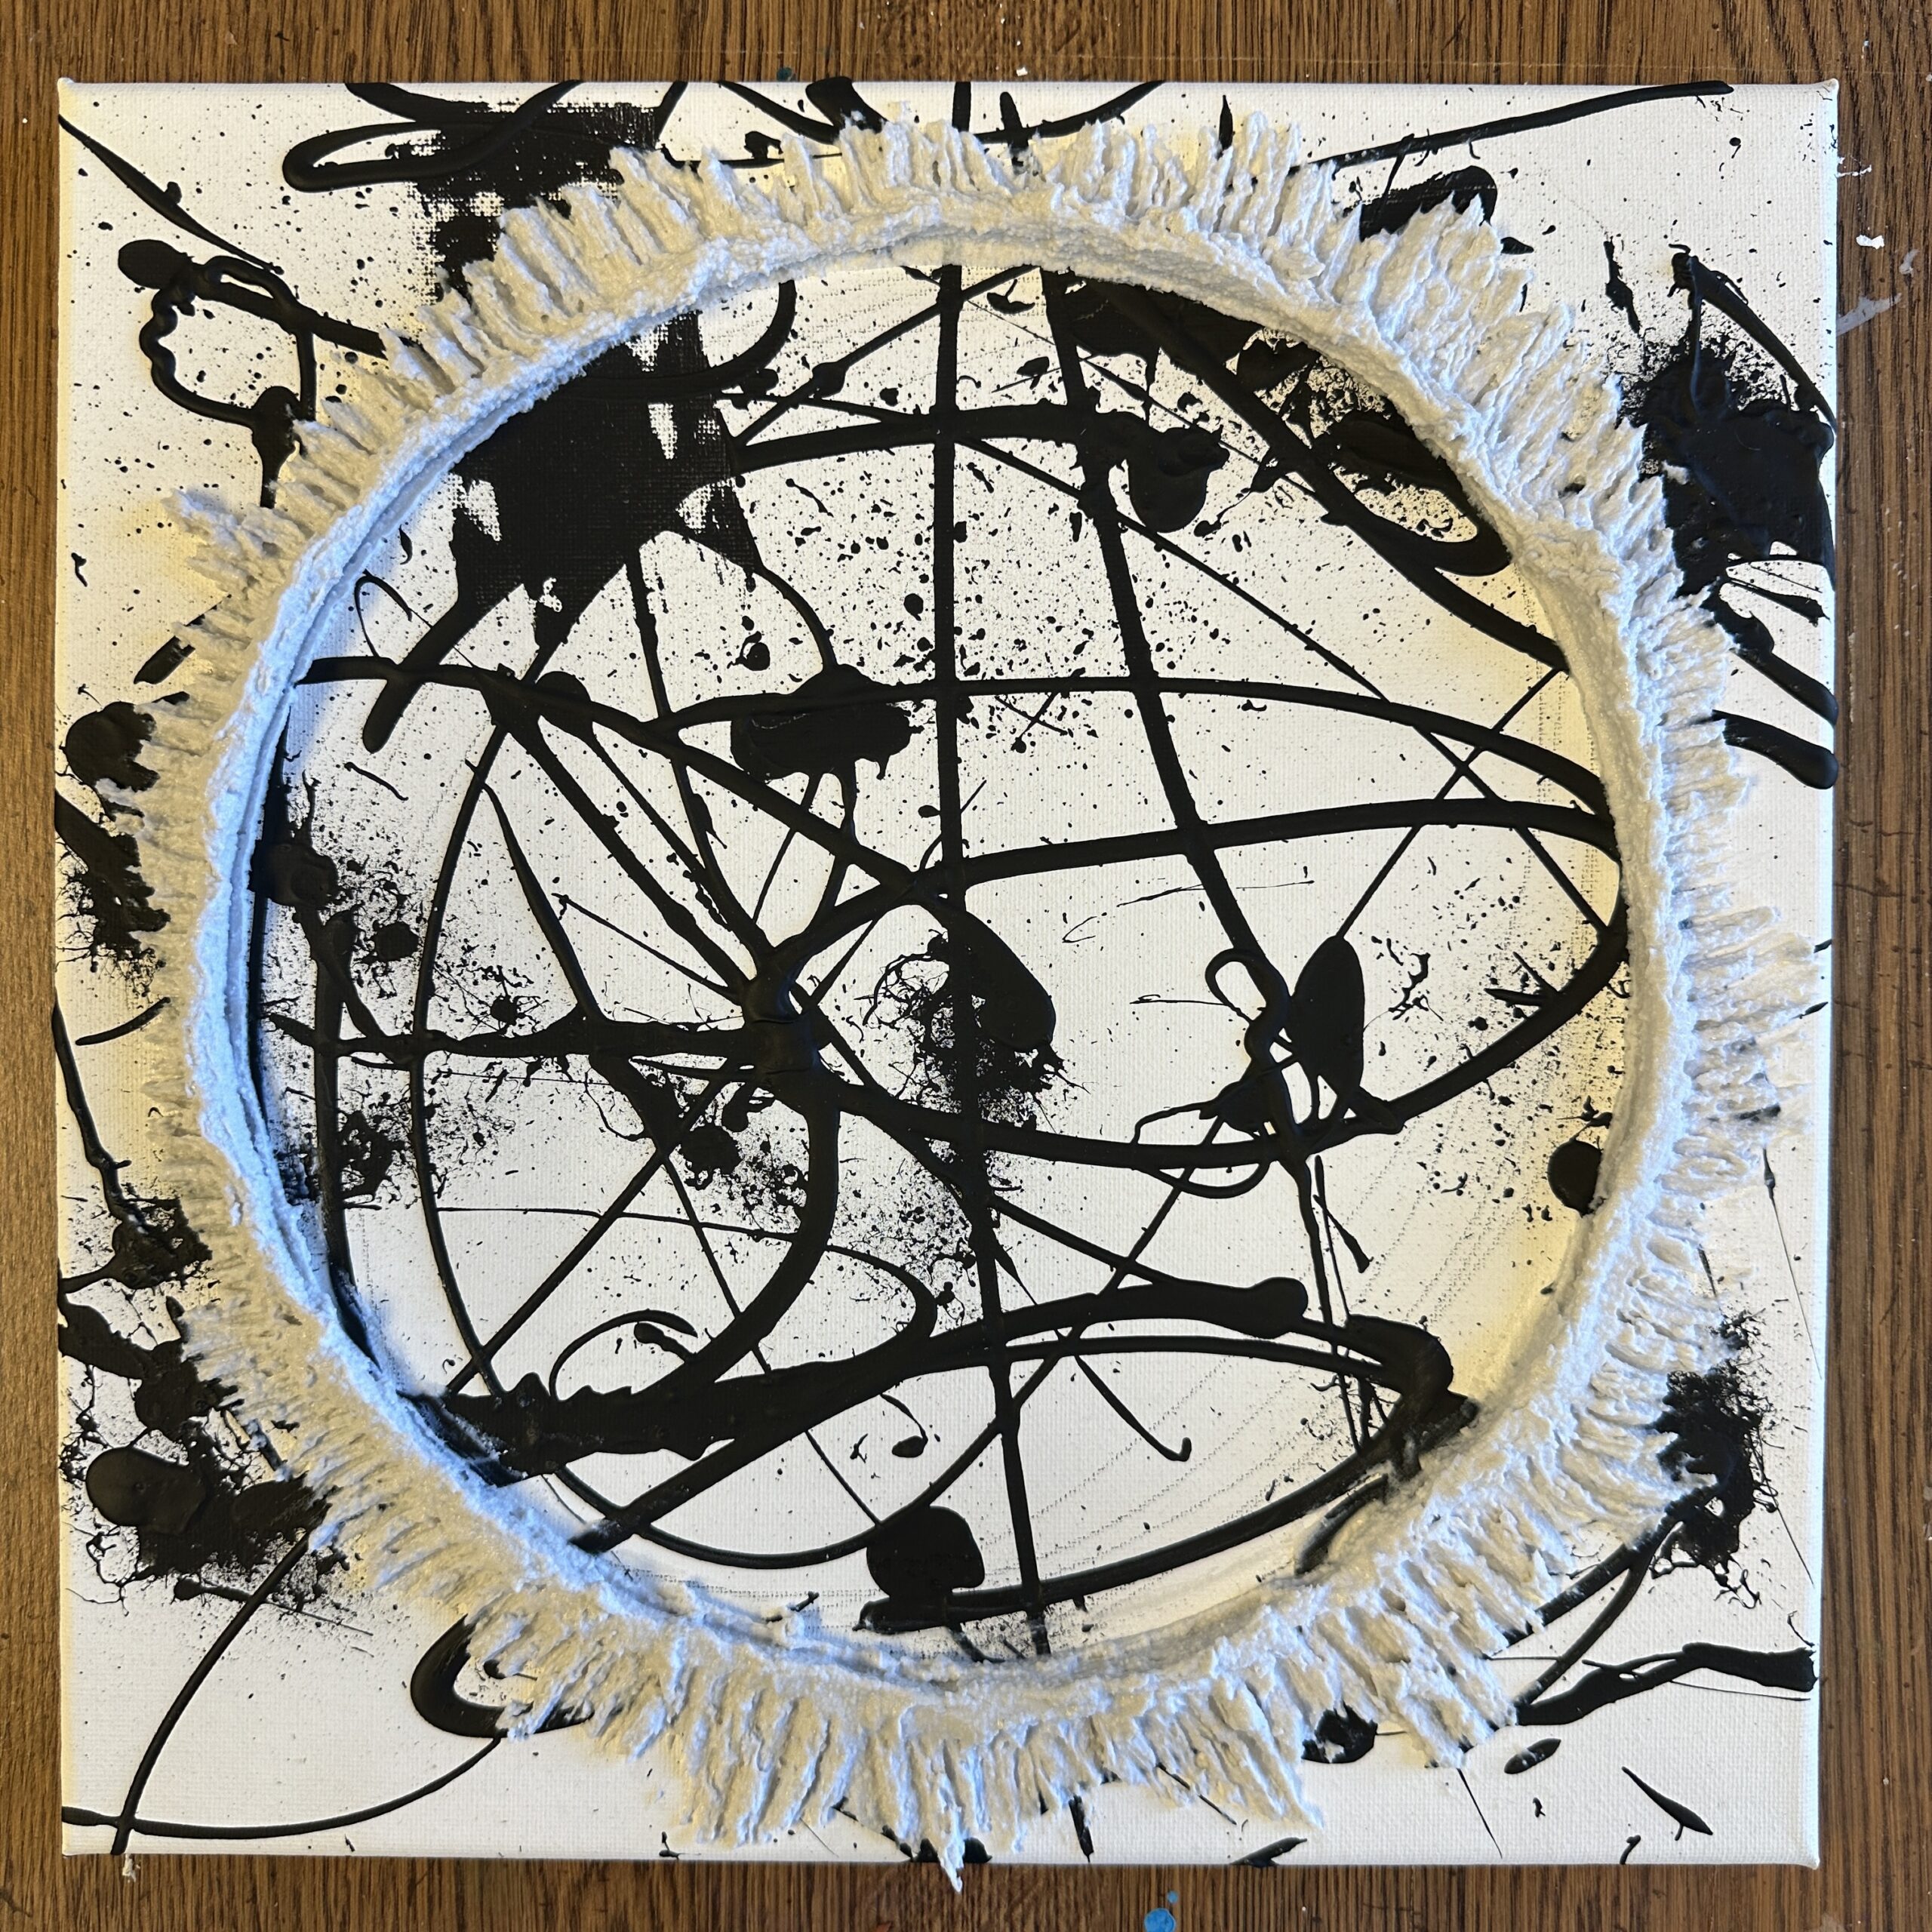
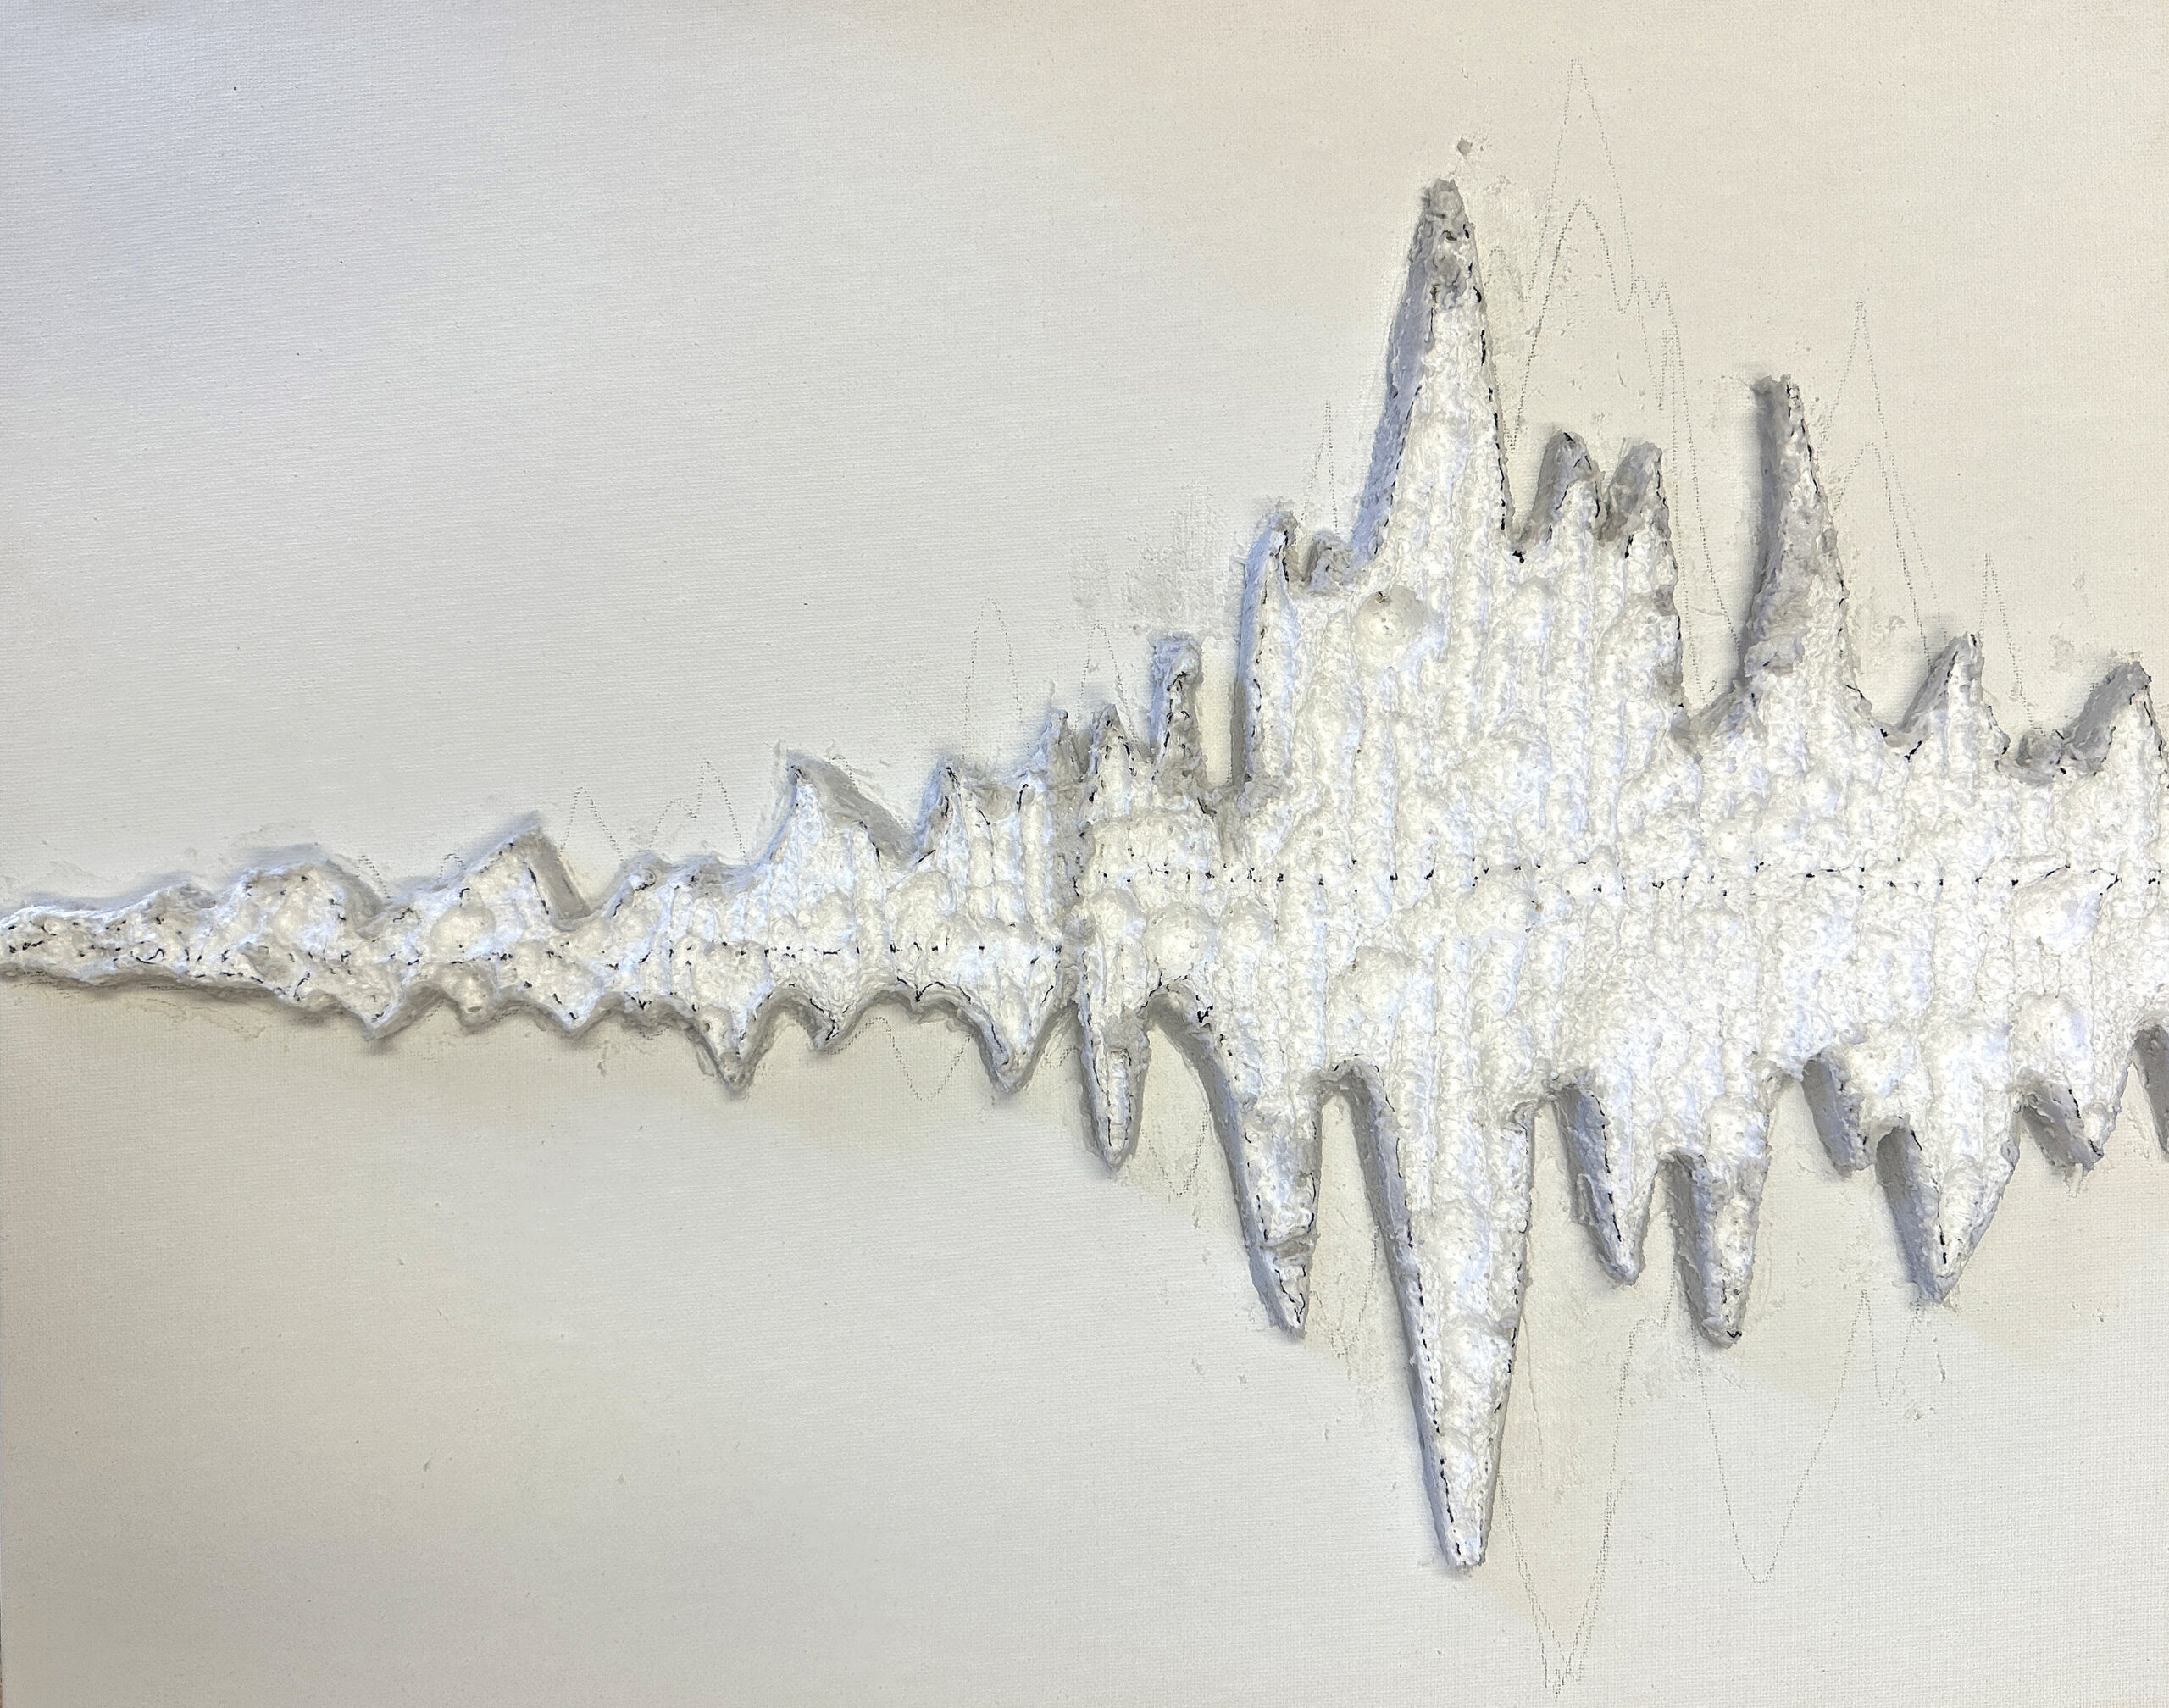
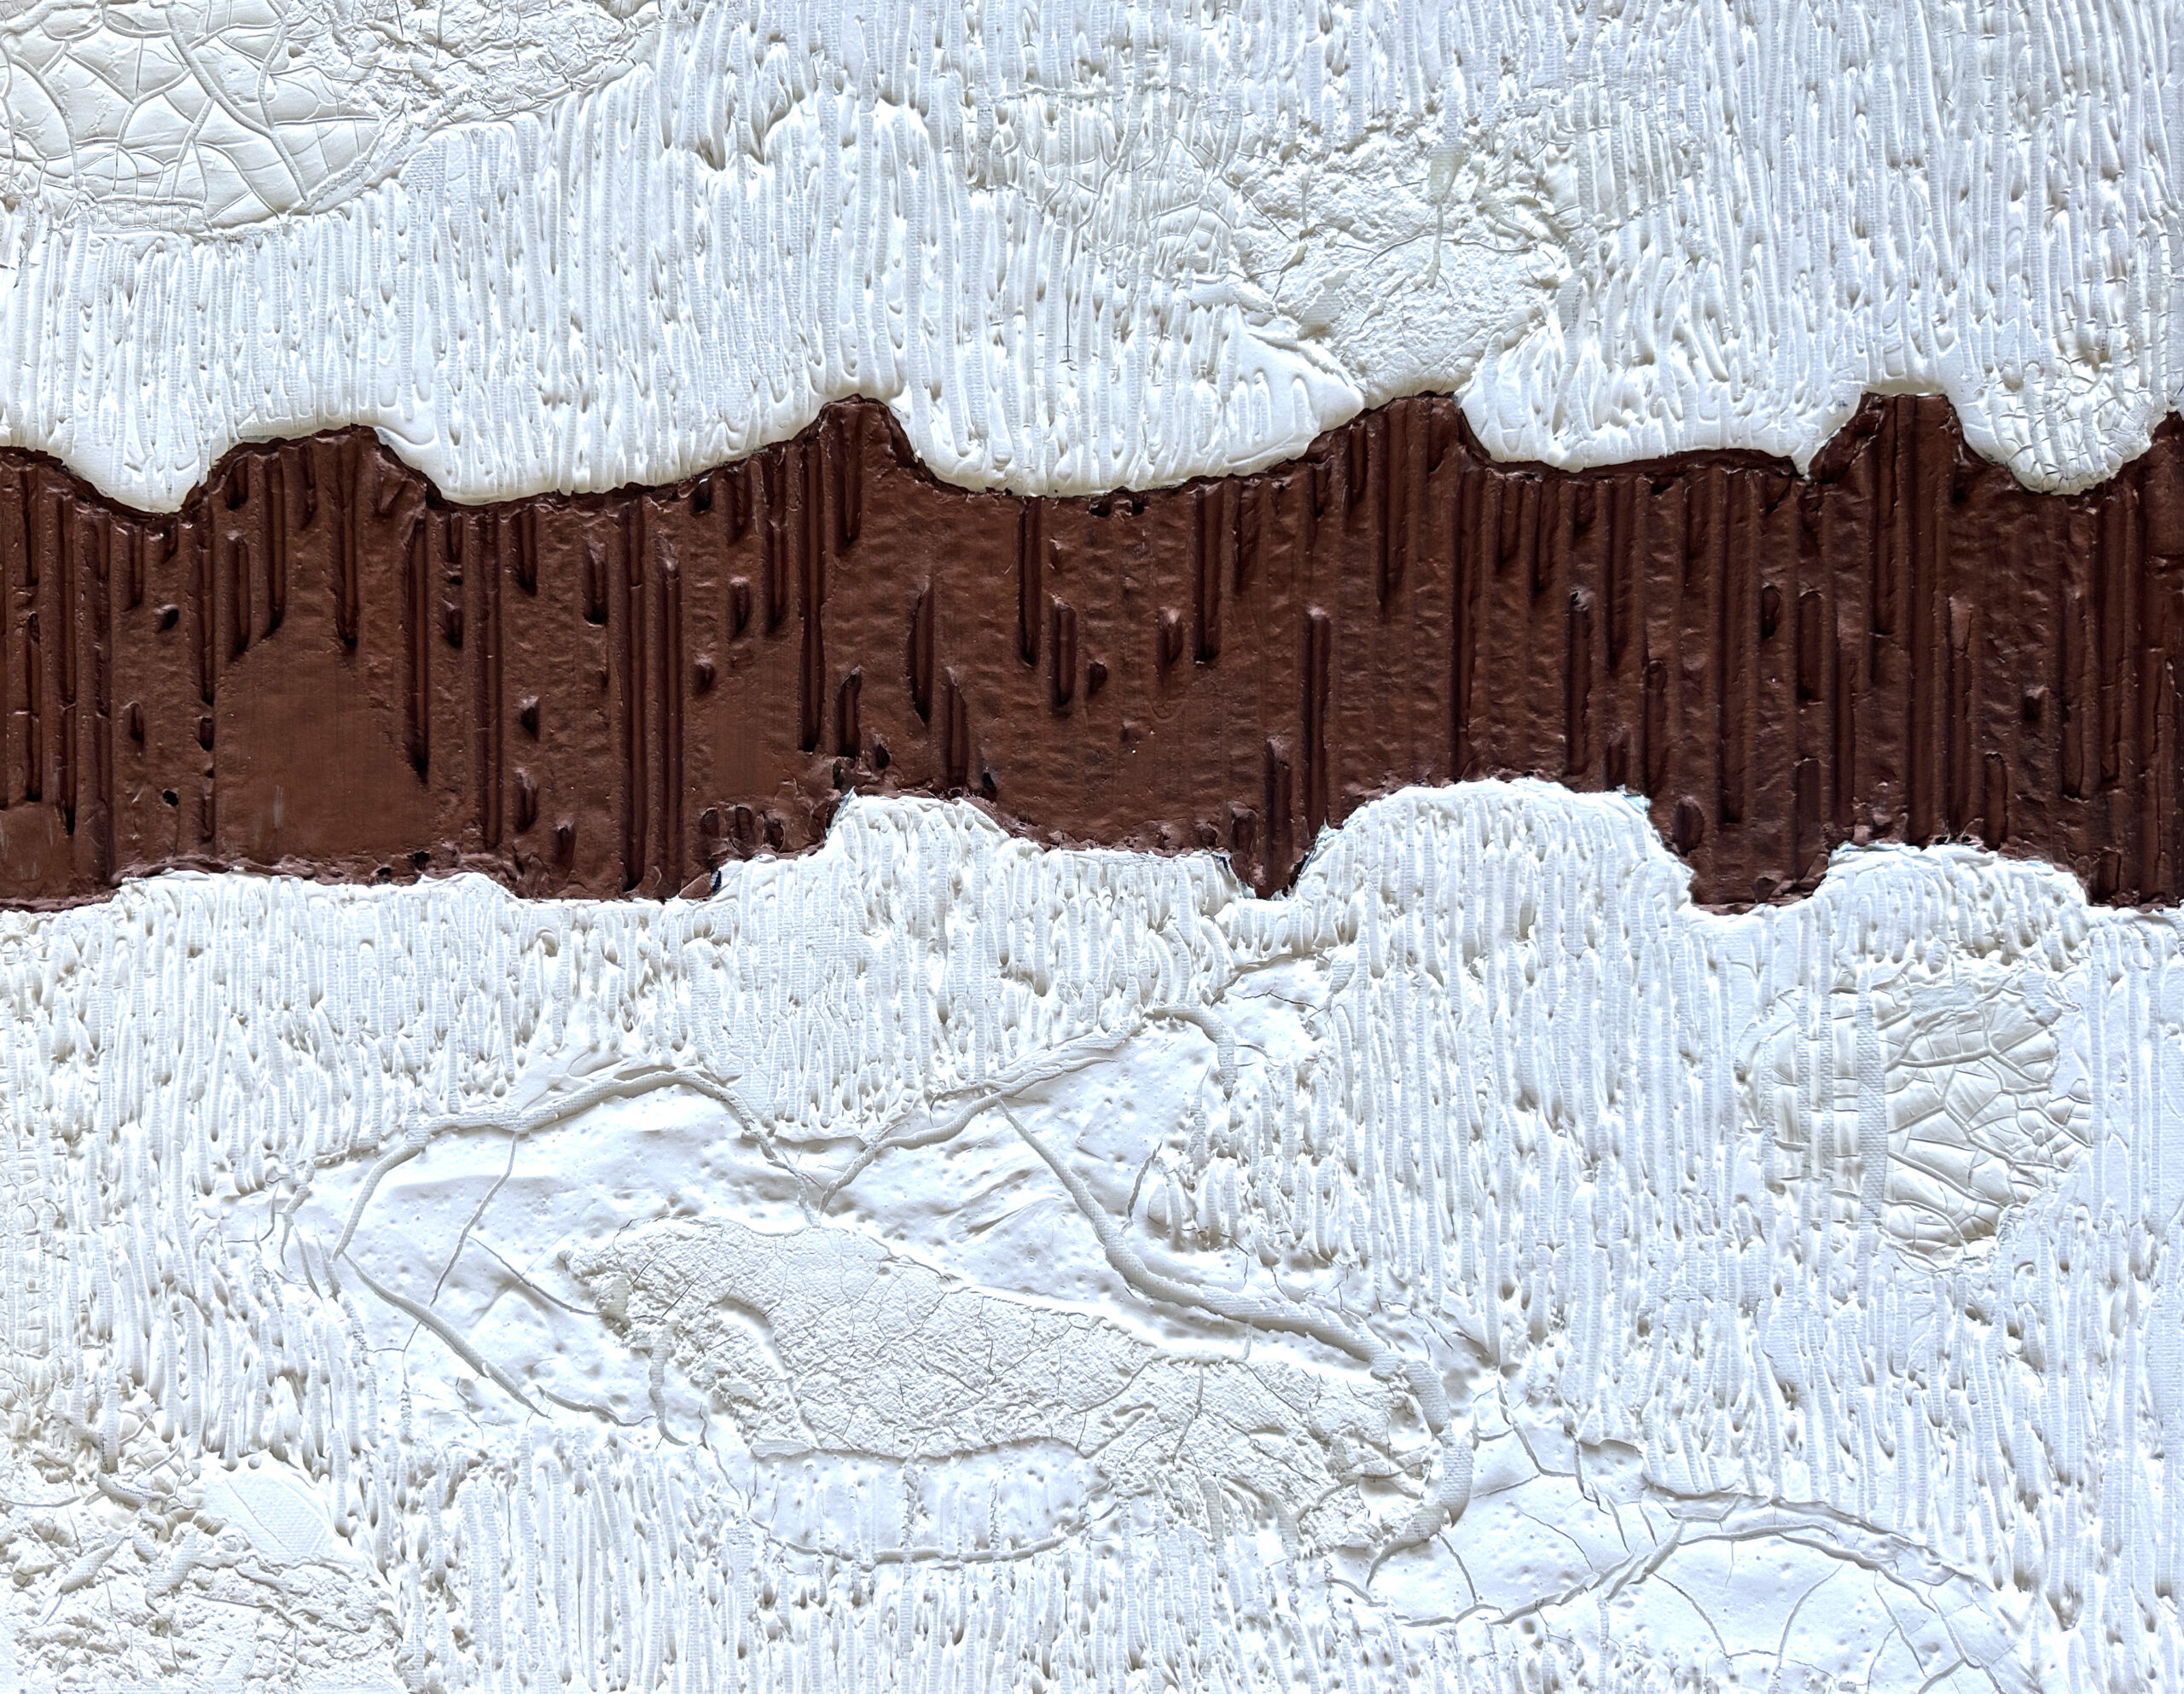
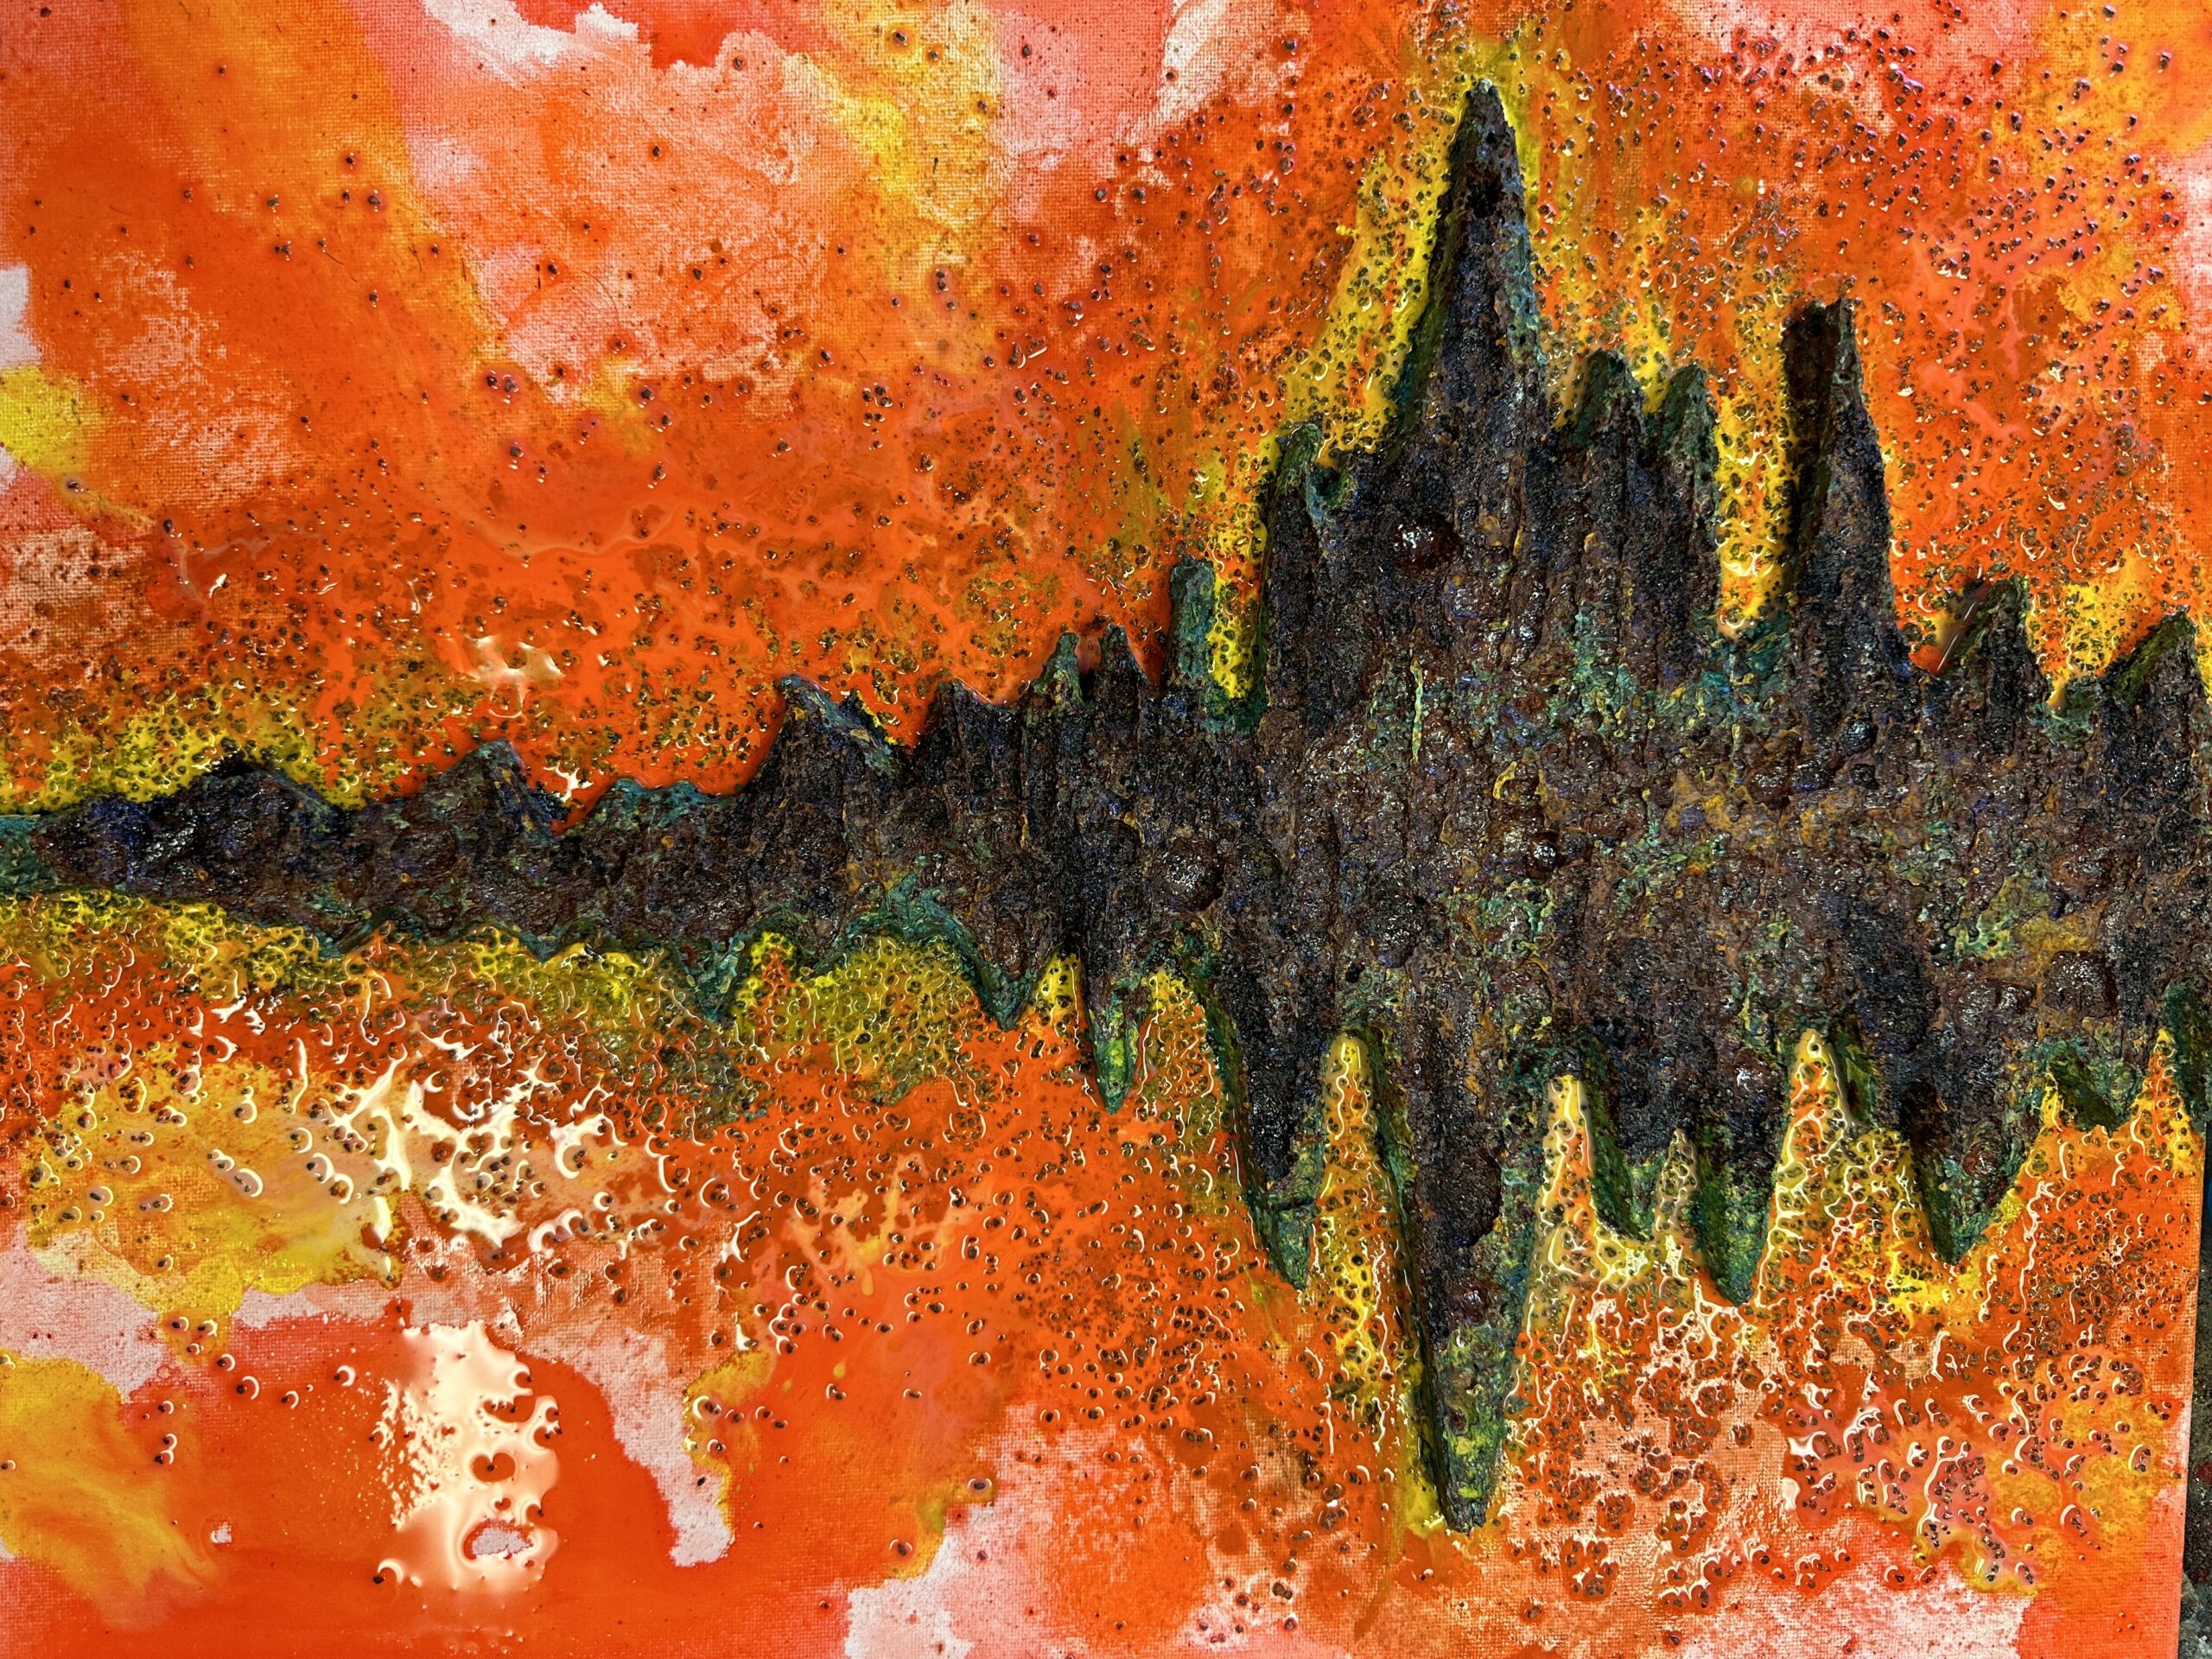
All of my current work starts with a blank canvas. For the more decorative pieces, I’ll pencil out some ideas where some of the major design components will go. Then I add texture: cement, crackle paste, lava gel, acrylic paste, plastic, sand, darjit, cardboard .. and other materials I have found useful over the years. When you look underneath the finishes, you’ll see additional layers in the design.
Finish
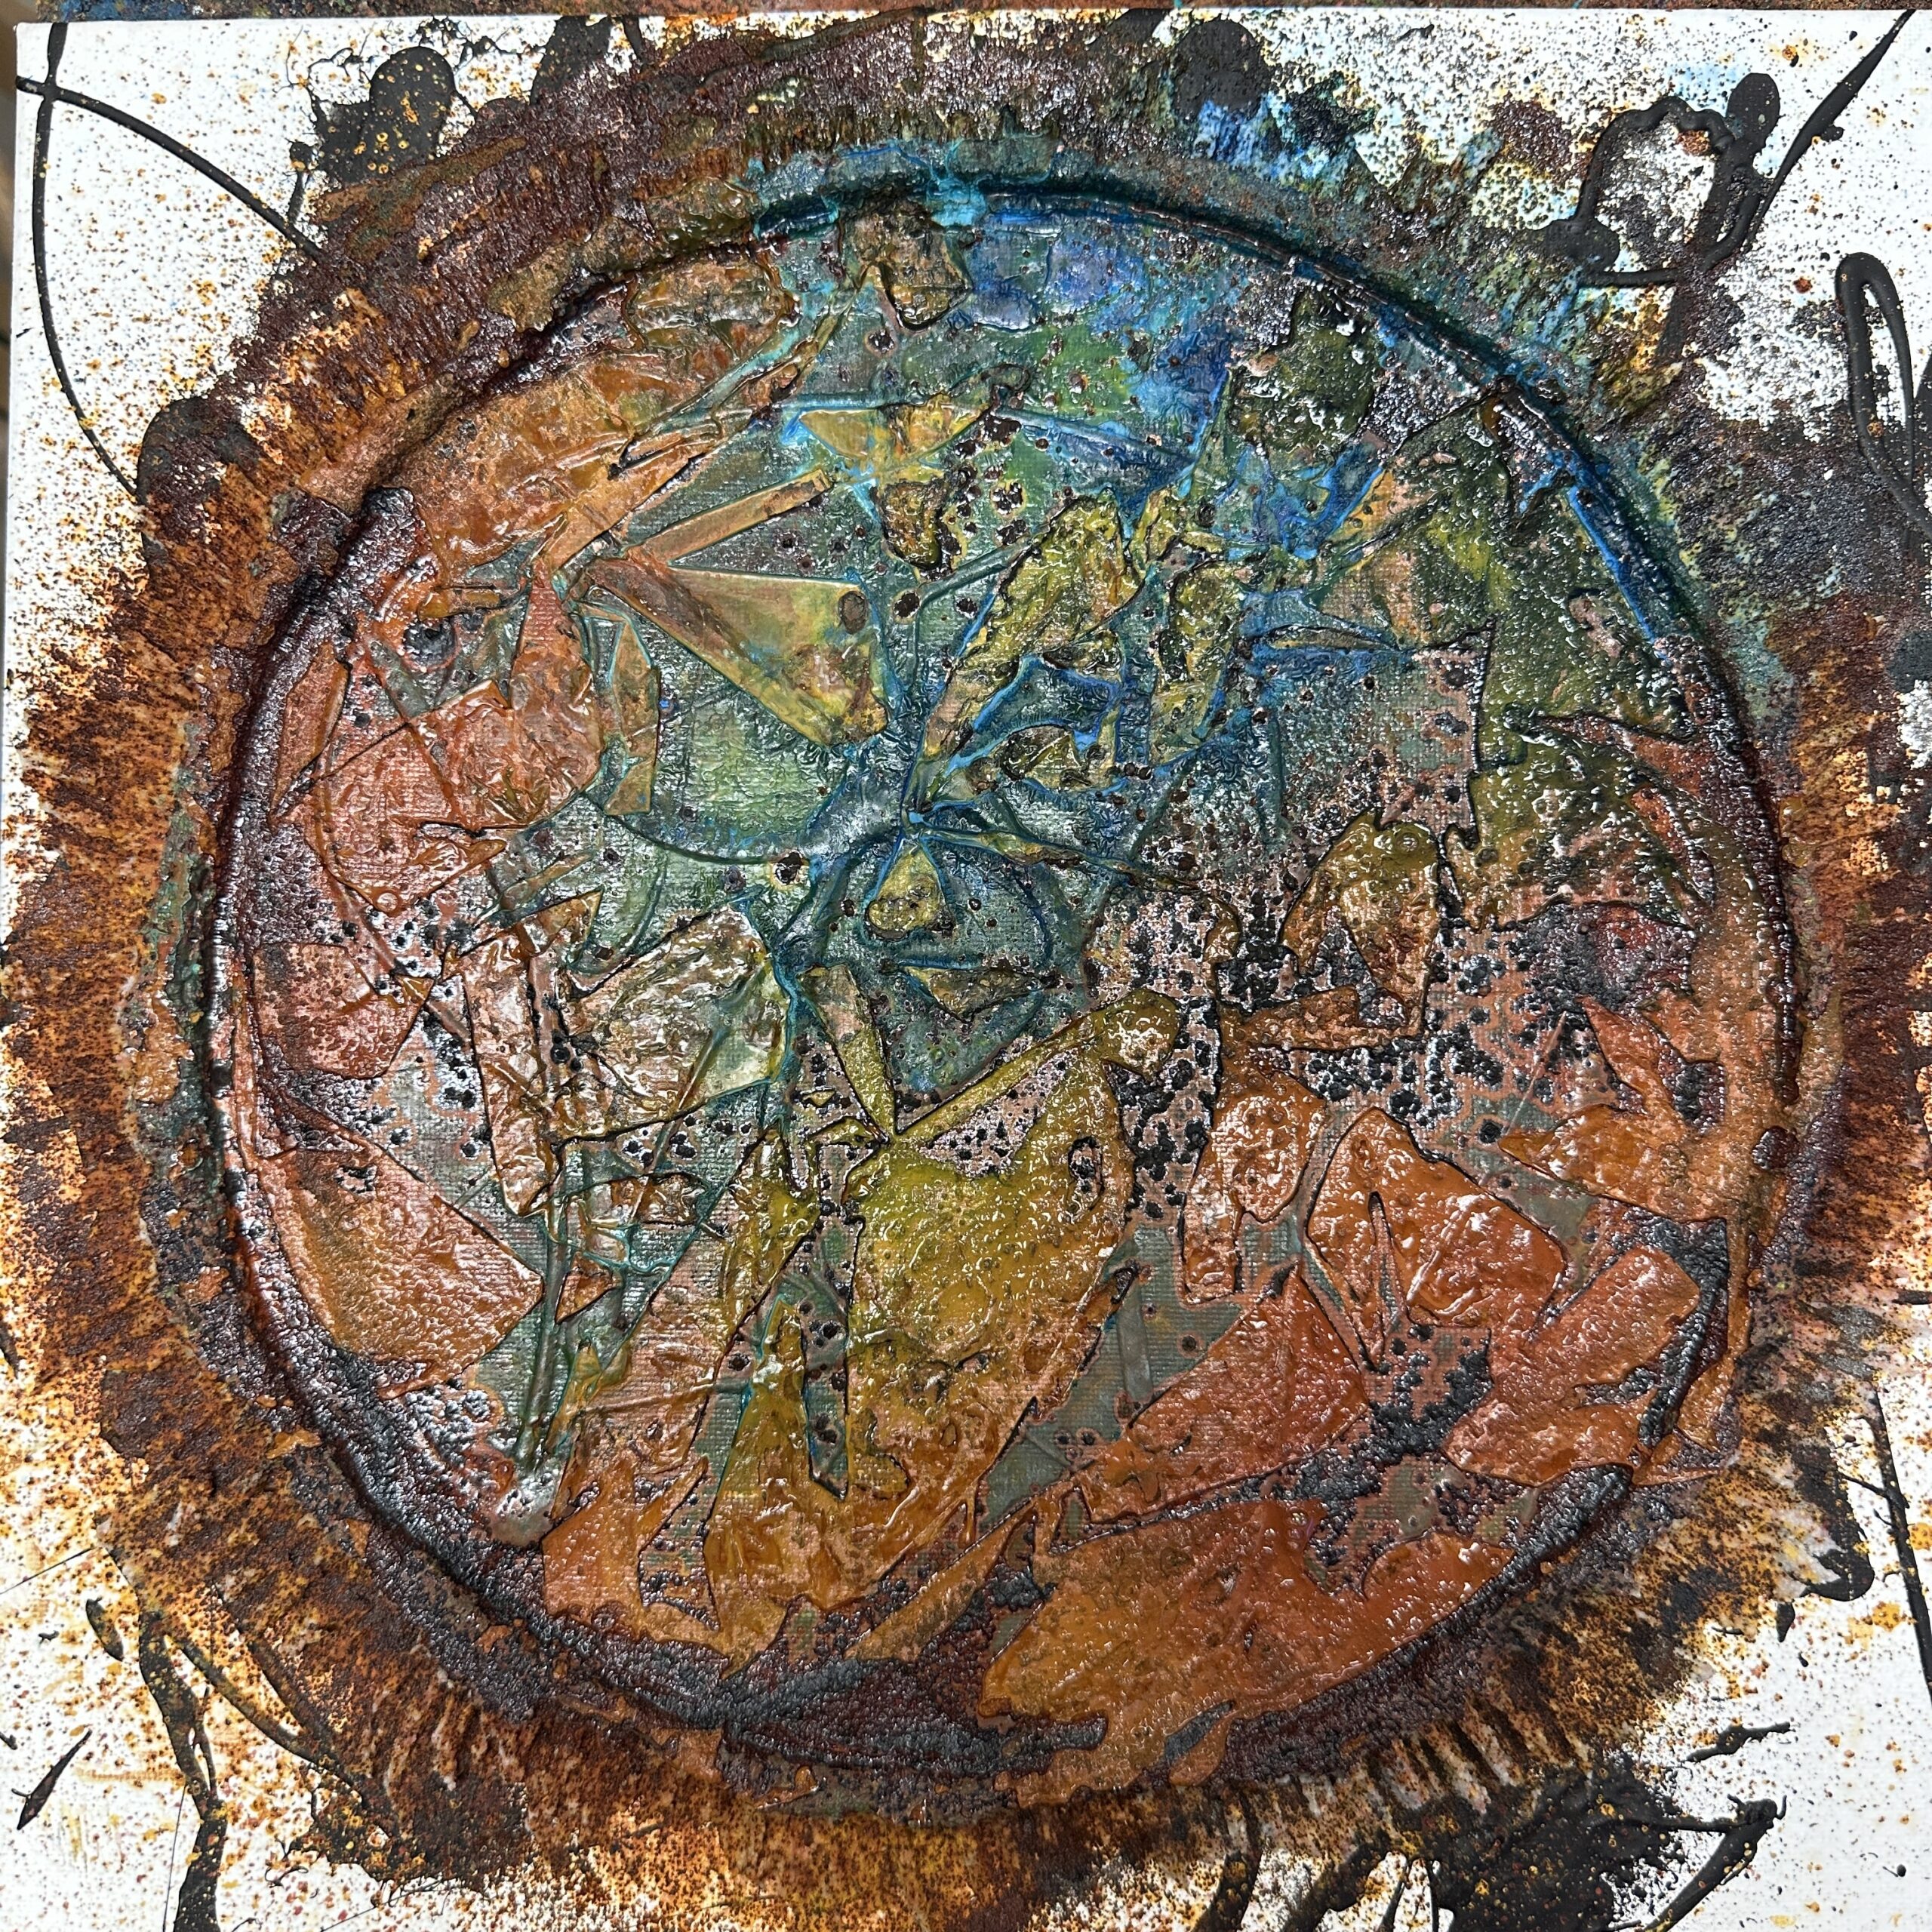
After the physical elements are adjusted to achieve the desired effect, I continue refining the artwork, tweaking and enhancing it until the sum of the parts resonate with the intended artistic expression. This usually involves additional acrylic paints and glazes, as well as the occasional oil stick to highlight textures or blend colors.
Process Videos
Coming soon!